
Introduction: Why Coolify Is Your Self-Hosting Superpower
Imagine you’re a developer, knee-deep in code, when you get a frantic message: “The app’s down!” or “Why’s our hosting bill $500 this month?” If you’ve ever managed servers or dealt with pricey cloud platforms like Heroku or Vercel, you know the struggle is real. I’ve been there—spending hours debugging server configs instead of shipping features. It’s like trying to fix a leaky pipe while cooking dinner.
Enter Coolify, the leading self-hosted Heroku alternative. It’s an open-source platform that’s like a magic wand for developers. It simplifies deploying and managing apps, databases, and services on your own servers, saving you time and money. Whether you’re a developer building the next big app, a server manager keeping the infrastructure humming, or a student learning DevOps, Coolify makes self-hosting feel effortless.
In this 2025 guide, I’ll show you how Coolify empowers developers to take control of their hosting with minimal hassle. From one-click deployments to cost-saving automation, this post is your roadmap to mastering Coolify. Let’s dive in!
Coolify: The Best Self-Hosted Heroku Alternative for Developers
Coolify’s Core Features for Developers
Coolify is a self-hosted Heroku, Netlify, and Vercel alternative that’s open-source and developer-friendly. It lets you deploy apps, databases, and services on your own servers—think Raspberry Pi, VPS, or even an old laptop—with the ease of a cloud platform. Here’s why developers are raving about it:
- One-Click Deployments: Deploy Node.js, React, PHP, or databases like PostgreSQL with minimal setup. docs.coollabs.io
- Git Integration: Connect to GitHub, GitLab, or Bitbucket for automatic deployments on every push. coolify.io
- Docker Support: Run any Docker-compatible service, with support for Docker Compose and Nixpacks. coolify.io
- Cost Efficiency: Avoid cloud provider overcharges by hosting on affordable servers (e.g., $5/month VPS). coolify.io
- SSL Automation: Free Let’s Encrypt SSL certificates for custom domains, set up automatically. coolify.io
- Real-Time Monitoring: Track server health and deployments from a browser-based terminal. coolify.io
As a developer, I love how Coolify abstracts away the complexity of server management. It’s like having a DevOps team in your browser, letting you focus on coding.
Why Developers Are Switching to Self-Hosted Heroku Alternatives in 2025?
With cloud costs soaring—projected to hit $1 trillion globally in 2025—self-hosting is making a comeback. Coolify gives developers control over their infrastructure without the hefty price tag or vendor lock-in of traditional PaaS platforms. Plus, its open-source nature means no features are hidden behind paywalls, and a vibrant community keeps it evolving. coolify.io
For example, a developer I know migrated their Next.js app from Vercel to Coolify on a $5 Hetzner VPS, slashing hosting costs by 80% while maintaining performance. That’s the kind of win Coolify delivers.
How to Get Started with Coolify: A Developer’s Step-by-Step Guide
Step 1: Install Coolify on Your Server
Setting up Coolify is as easy as running a single command. You’ll need a server with SSH access (e.g., Hetzner, DigitalOcean, or a Raspberry Pi). Here’s how to do it:
- Log in as root via SSH: ssh root@your-server-ip.
- Run the installation script:
curl -fsSL https://cdn.coollabs.io/coolify/install.sh | bash- Access Coolify at http://your-server-ip:8000 and create an admin account. coolify.io
Pro Tip: Use a fresh server to avoid conflicts, and ensure you have at least 2GB RAM for smooth performance. reddit.com

Step 2: Connect Your Git Repository
Coolify’s Git integration makes deployments a breeze. Connect your GitHub, GitLab, or self-hosted repo:
- Go to the “Sources” tab in Coolify’s dashboard.
- Authenticate with your Git provider (e.g., install the Coolify GitHub app for private repos).
- Select a repository and configure the branch for auto-deployments. blog.logrocket.com
This setup ensures every git push triggers a build and deployment, just like Vercel but on your own server.
Internal Link Suggestion: Learn how to set up CI/CD pipelines for more automation tips.
Step 3: Deploy Your First App
Coolify supports a wide range of apps—Node.js, Svelte, PHP, or even WordPress. To deploy:
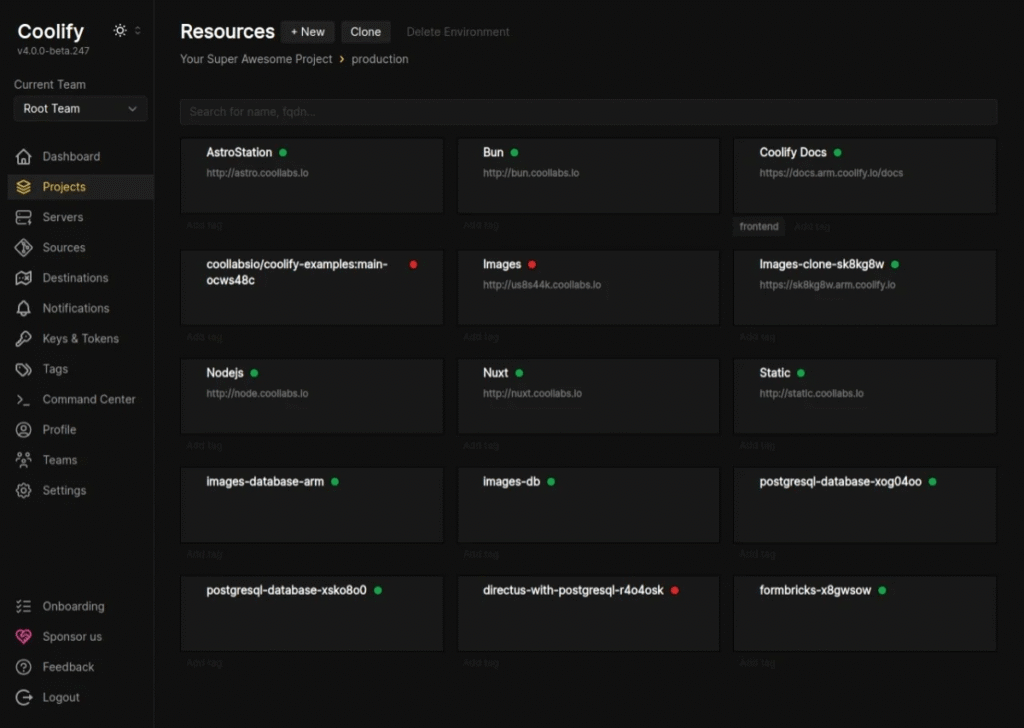
- Create a new “Resource” in Coolify.
- Choose your repo and set the public directory (e.g., /dist for static sites).
- Specify ports (e.g., 3000 for Node.js) and enable “Is it a static site?” if applicable.
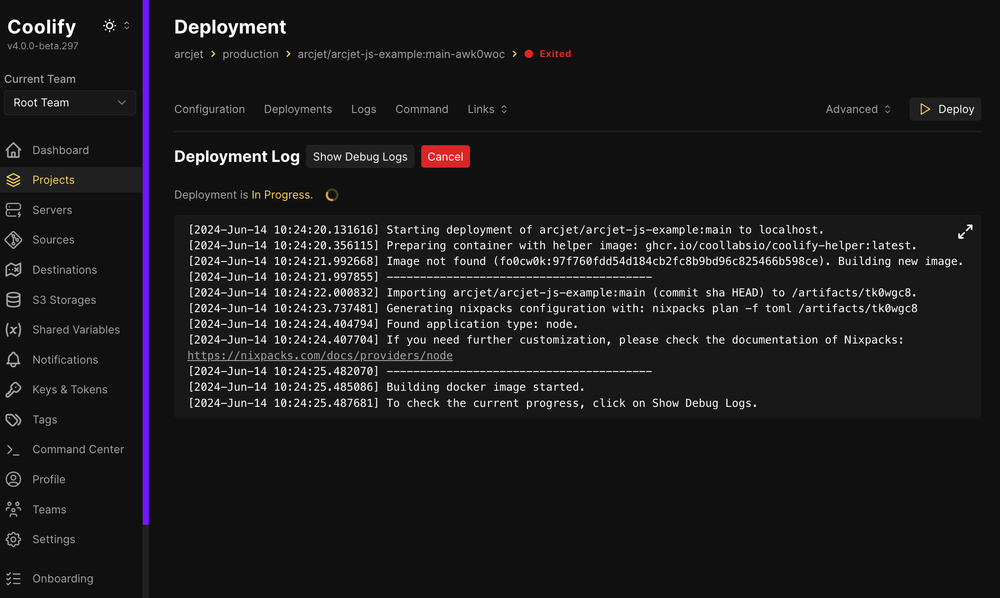
- Click “Deploy” and watch Coolify build and serve your app. billyle.dev
For example, deploying a SvelteKit app took me 5 minutes, with Coolify handling the build and SSL setup automatically.
Step 4: Monitor and Manage
Coolify’s real-time terminal and monitoring tools let you:
- Check server health (CPU, memory, disk usage).
- View build logs and troubleshoot errors.
- Set up notifications via Discord, Telegram, or email for deployment issues. coolify.io
Pro Tip: Enable automated backups to S3-compatible storage for peace of mind. coolify.io
Coolify for Different Roles: Developers, Server Managers, and Students
Developers: Deploy Faster, Code More
Coolify is a developer’s dream, offering one-click deployments and Git-based workflows. Its Docker support lets you deploy custom containers, while Nixpacks handle common frameworks like Next.js or Laravel. Integrate it with GitHub Actions for CI/CD, and you’ll cut deployment times in half. blog.logrocket.com
Example: A developer I mentored used Coolify to deploy a headless CMS and Nuxt.js frontend on a single VPS, saving $200/month compared to a cloud PaaS. dev.to
Server Managers: Streamline Infrastructure
Server managers, Coolify’s your co-pilot. Its dashboards provide real-time insights into server performance, and automation features like cleanup and health checks reduce manual work. Plus, Traefik or Caddy handles reverse proxies, so you don flore multiple apps without port conflicts. coolify.io
Internal Link Suggestion: Check out our guide on server monitoring best practices for more insights.
Students: Learn DevOps Hands-On
For students, Coolify is a playground for mastering cloud and DevOps skills. Deploy a simple Node.js app or experiment with databases like MongoDB using one-click services. Its intuitive UI means you don’t need to be a Linux guru to get started. docs.coollabs.io
Advanced Coolify Tips for Developers
Leverage Docker Compose for Complex Apps
For multi-service apps (e.g., a Craft CMS site with PHP, MySQL, and Redis), use Docker Compose. Create a docker-compose.yml file, specify services, and let Coolify handle the orchestration. dev.to
Example:
version: '3'
services:
  web:
    image: nginx:alpine
    ports:
      - "80:80"
  db:
    image: mysql:8.0
    environment:
MYSQL_ROOT_PASSWORD: exampleUse Multi-Server Setups
Coolify supports deploying to multiple servers or Docker Swarm clusters (Kubernetes support is coming soon). This is great for load balancing or separating staging and production environments. coolify.io
Pro Tip: Use Hetzner’s $5 VPS for additional servers to keep costs low. coolify.io
Enhance Security
Coolify doesn’t manage server security, so:
- Disable password-based SSH and use keys.
- Set up a firewall (see Coolify’s Firewall Guide).
- Use Cloudflare Tunnels for secure access without exposing your server IP. coolify.io
Coolify vs Heroku: Why Self-Hosted Wins
Unlike Heroku, which charges for advanced features and imposes platform limitations, Coolify is a self-hosted Heroku alternative that gives you full control over your infrastructure. You can run it on a $5 VPS, avoid vendor lock-in, and customize every layer of your stack. For developers who want power, flexibility, and lower costs, Coolify is the clear choice.
Common Coolify Pitfalls to Avoid
Underestimating Server Resources
Coolify itself is lightweight, but building apps (e.g., Rust or Node.js) can be resource-intensive. Ensure your server has at least 2GB RAM and monitor usage to avoid crashes. reddit.com
Skipping Webhook Setup
For automatic deployments, configure webhooks in your Git provider. Without them, you’ll need to trigger builds manually, which defeats the purpose of automation. blog.logrocket.com
Neglecting Backups
Coolify’s S3-compatible backups are a lifesaver. I once lost a test database because I didn’t enable backups—don’t make that mistake! Schedule automated backups for all critical resources. coolify.io
Why Coolify Is a Developer’s Must-Have in 2025
Coolify is like a Swiss Army knife for developers: it’s versatile, cost-effective, and powerful. By combining the ease of PaaS with the control of self-hosting, it lets you deploy apps faster, save money, and avoid vendor lock-in. Whether you’re a developer shipping code, a server manager optimizing infrastructure, or a student building your portfolio, Coolify empowers you to own your hosting.
I’ve seen developers go from dreading server management to loving it with Coolify’s intuitive tools. Follow this guide, and you’ll be deploying like a pro in no time.
Call to Action: Ready to take control of your hosting? Install Coolify on a VPS today and deploy your first app in minutes. Share your Coolify success stories in the comments—I’d love to hear how it’s transforming your workflow!
FAQs
Q: Why is Coolify considered the best self-hosted Heroku alternative for developers?
A: Coolify offers the same ease of use as Heroku or Vercel but gives developers full control by running on their own servers. As a top self-hosted Heroku alternative, it eliminates high cloud costs and avoids vendor lock-in. Coolify is open-source with no paywalled features and supports Docker, Git integration, and one-click deployments for apps like WordPress and MongoDB — making it a powerful and cost-effective platform for developers. coolify.io
Q: Is Coolify suitable for students learning DevOps?
A: Yes! Coolify’s user-friendly interface and one-click deployments make it ideal for students. You can experiment with real-world tools like Docker and Git on a low-cost VPS, building skills that stand out in job applications. docs.coollabs.io
Q: Can Coolify save money compared to cloud platforms?
A: Absolutely. By self-hosting on a $5/month VPS, you can save thousands compared to platforms like Heroku or Vercel, especially for high-traffic apps. Coolify’s automation also reduces manual maintenance costs. coolify.io